Potatoes are a staple crop that can be grown successfully in home gardens, whether you have ample space or just a few containers. This guide will walk you through the essentials of growing potatoes, from selecting the right variety to harvesting and storing your crop. By following these steps, you’ll be able to enjoy fresh, homegrown potatoes all season long.
1. Choosing the Right Potato Variety
Potatoes come in several varieties, each offering different benefits depending on your climate and how you intend to use them in the kitchen.
- Early Varieties: These potatoes mature quickly, typically within 75-90 days. They are ideal for regions with shorter growing seasons. Examples include ‘Red Norland’ and ‘Yukon Gold.’
- Maincrop Varieties: These take longer to mature, usually around 100-120 days, and are best for storage. Popular choices include ‘Russet Burbank’ and ‘Kennebec.’
- Fingerlings and Specialty Potatoes: These varieties are known for their unique shapes, colors, and flavors, making them a favorite among gourmet chefs. ‘Russian Banana’ and ‘Purple Majesty’ are examples.

2. Preparing the Soil for Potatoes
Potatoes need well-drained, loose soil rich in organic matter. Preparing your soil correctly can make a big difference in the success of your potato crop.
- Soil Testing: Start by testing your soil’s pH. Potatoes prefer slightly acidic soil, with a pH between 5.0 and 6.5.
- Soil Amendments: Add organic matter such as compost or well-rotted manure to enhance soil fertility and structure. This will also improve drainage, which is crucial as potatoes are prone to rot in waterlogged soil.
- Raised Beds or Mounding: Consider growing potatoes in raised beds or mounds if your soil is heavy or poorly drained. This will keep the soil loose and help prevent disease.
For tips on improving garden soil, visit our Soil Preparation Guide.
3. Planting Potatoes: Step-by-Step
Proper planting techniques are essential for a healthy potato crop. Here’s how to do it:
- When to Plant: Potatoes are typically planted in early spring, as soon as the soil can be worked and the temperature reaches at least 45°F (7°C). In cooler climates, this is often 2-3 weeks before the last frost.
- Seed Potatoes: Use certified seed potatoes to reduce the risk of disease. If your seed potatoes are large, cut them into smaller pieces, each with at least one or two eyes. Allow the cut pieces to dry for a day or two to form a callus, which helps prevent rot.
- Planting Depth and Spacing: Plant seed potatoes 4-6 inches deep with the eyes facing upward. Space them 12 inches apart in rows that are 2-3 feet apart. As the plants grow, continue to mound soil around the stems to encourage more tuber formation.
4. Caring for Your Potato Plants
Potato plants need consistent care to produce a good harvest.
- Watering: Potatoes require regular watering, especially during the flowering stage when tubers are forming. Aim to keep the soil evenly moist but not waterlogged. Overwatering can lead to rot, while underwatering can result in small, misshapen tubers.
- Fertilizing: Potatoes benefit from a balanced fertilizer, particularly one high in potassium, which promotes tuber growth. Apply fertilizer at planting and then again when the plants are about 6 inches tall.
- Mulching: Apply a thick layer of mulch around the plants to conserve moisture, suppress weeds, and protect the developing tubers from sunlight. Exposed potatoes can turn green and become inedible.
5. Harvesting and Storing Potatoes
Harvesting potatoes at the right time is crucial for flavor and storage.
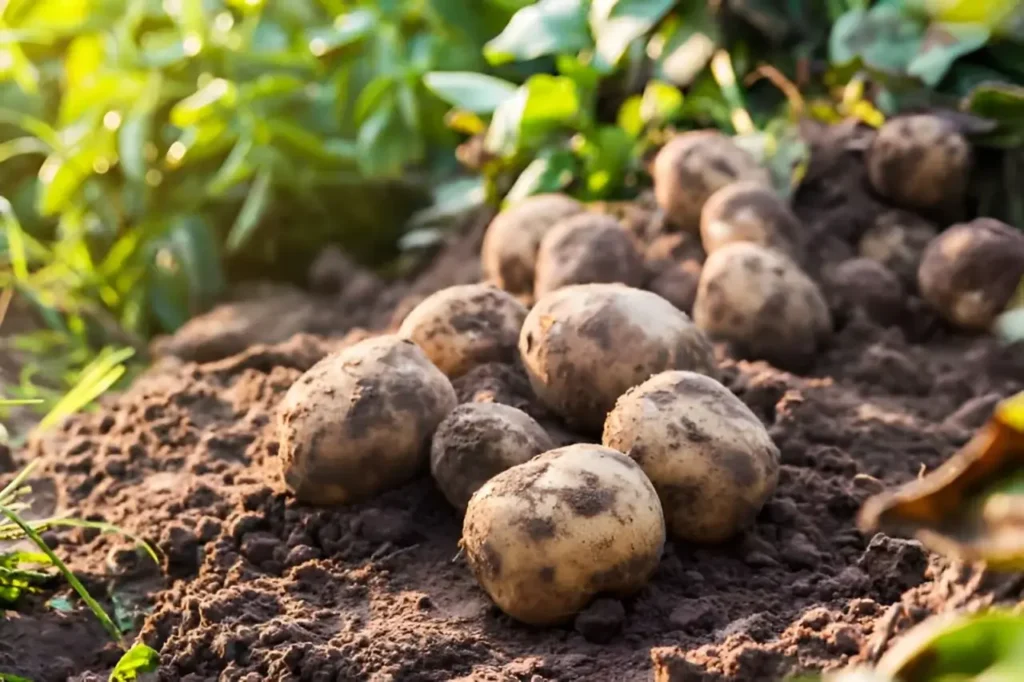
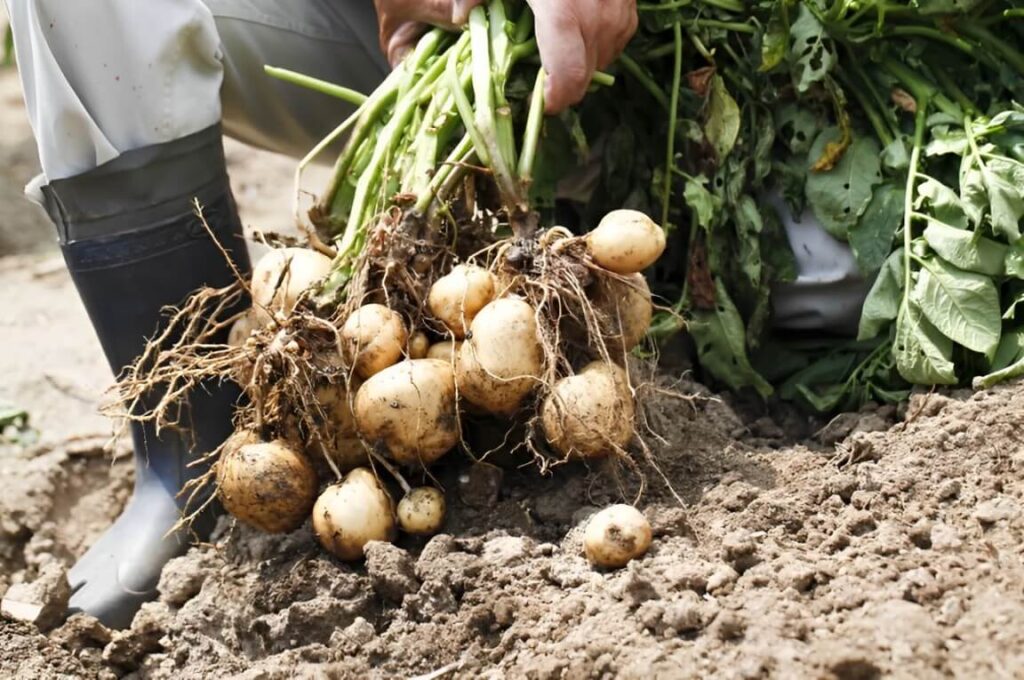
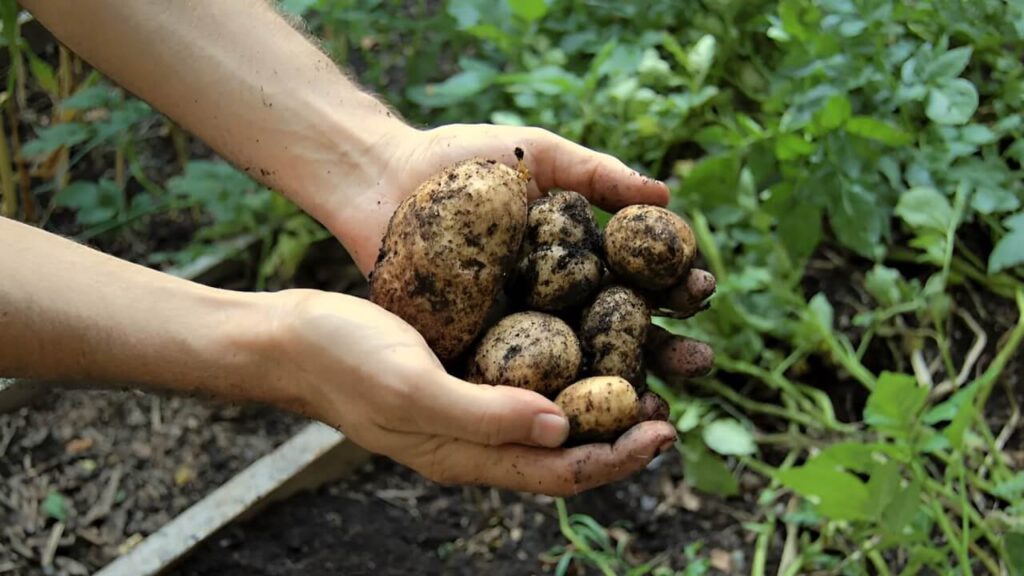
- When to Harvest: For new potatoes, harvest them when the plants begin to flower. For full-sized potatoes, wait until the foliage has died back. Carefully dig around the plants with a fork or spade, taking care not to damage the tubers.
- Curing and Storing: After harvesting, allow the potatoes to cure in a cool, dark place for about two weeks. This process toughens their skins, making them more suitable for storage. Store cured potatoes in a cool, dark, and well-ventilated area. Avoid storing them near apples or other fruits that emit ethylene gas, which can cause potatoes to sprout.

6. Common Issues and Solutions
Potatoes can face various challenges, from pests to diseases. Here’s how to tackle some common problems:
- Late Blight: This fungal disease can devastate a potato crop. To prevent it, practice crop rotation and choose resistant varieties. If blight does occur, remove and destroy affected plants to prevent the spread.
- Potato Beetles: These pests can quickly defoliate potato plants. Handpick beetles and larvae off the plants, or use organic insecticides if infestations are severe.
- Scab: A bacterial disease that causes rough, corky patches on the tubers. Reduce the risk by maintaining slightly acidic soil and avoiding fresh manure.
Growing potatoes is a rewarding experience that can be accomplished with the right knowledge and care. By selecting the appropriate variety, preparing the soil, planting properly, and tending to your plants, you can enjoy a bountiful harvest of delicious homegrown potatoes. Remember to monitor your plants for pests and diseases, and follow the steps for harvesting and storing your potatoes to ensure they last. With these tips, you’ll be well on your way to becoming a successful potato gardener. Happy planting!
